Beamer Presentations: A Tutorial for Beginners (Part 5)—Themes and Handouts
Part 1 | Part 2 | Part 3 | Part 4 | Part 5
Author: Josh Cassidy (August 2013)
This five-part series of articles uses a combination of video and textual descriptions to teach the basics of creating a presentation using the LaTeX beamer package. These tutorials were first published on the original ShareLateX blog site during August 2013; consequently, today's editor interface (Overleaf) has changed considerably due to the development of ShareLaTeX and the subsequent merger of ShareLaTeX and Overleaf. However, much of the content is still relevant and teaches you some basic LaTeX—skills and expertise that will apply across all platforms.
In the previous post we looked at animating our slides using overlay specifications. In this, the final post of the series, we're going to look at editing the way our presentation looks using themes. We'll also look at printing handouts.
Presentation themes
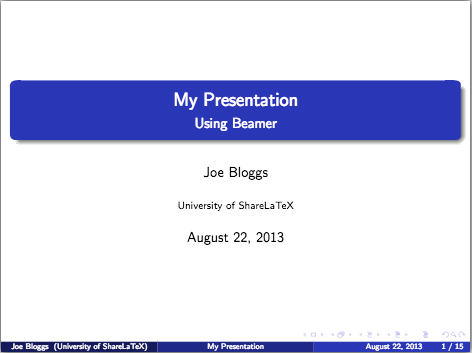
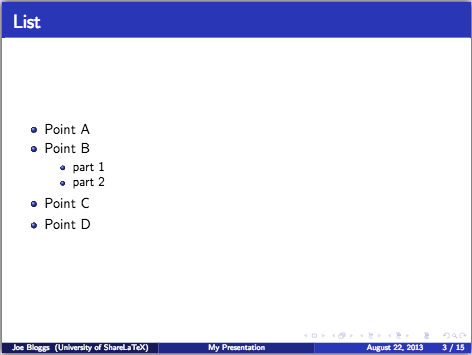
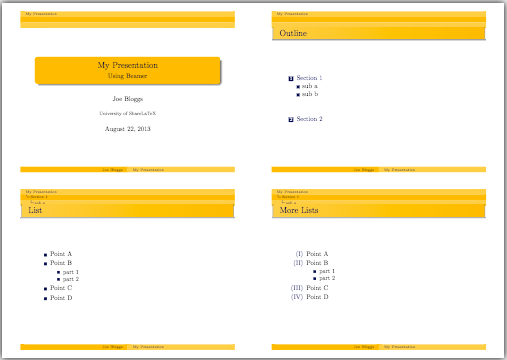
In the first video we set up our presentation with the Boadilla theme like this:
\usetheme{Boadilla}
There are lots of different predefined presentation themes available for us to use. Here are a few of them. This is the Bergen theme:


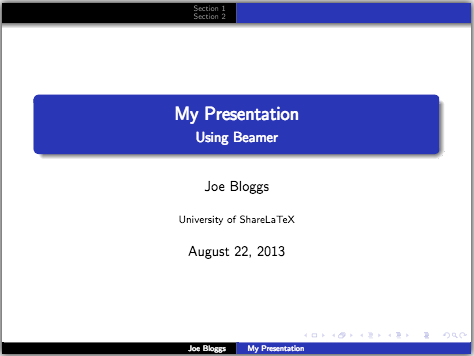
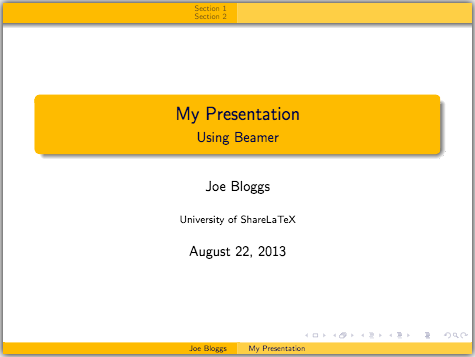
This is the Madrid theme:
There are also themes that include navigation bars, for example the Antibes theme:

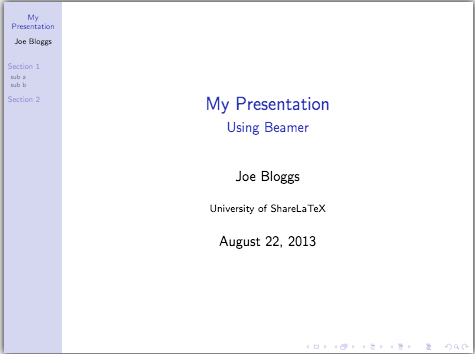
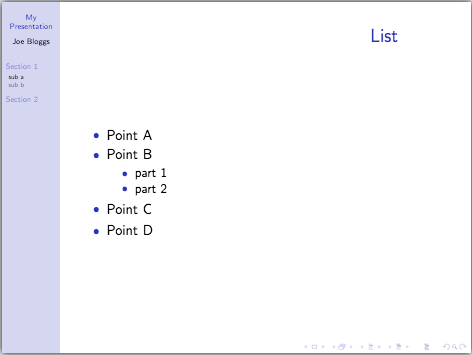
We could also use a theme that includes a table of contents sidebar, like the Hannover theme:
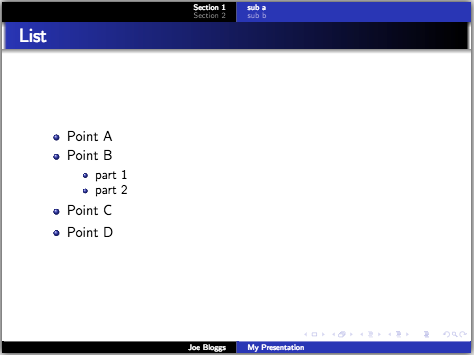
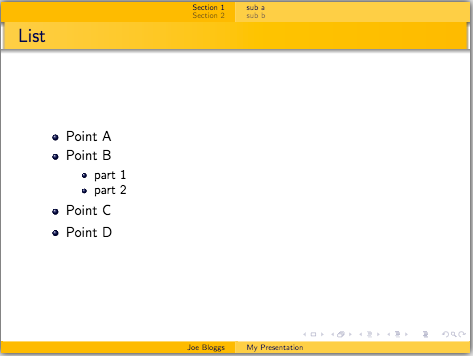
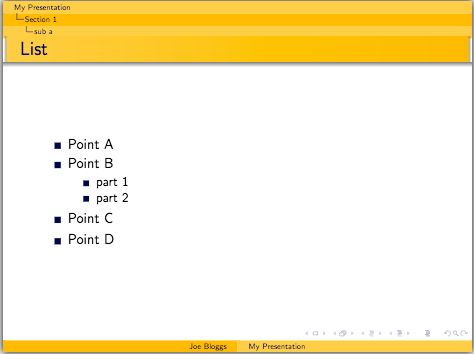
The Singapore theme is one that includes what beamer calls a Mini Frame Navigation:
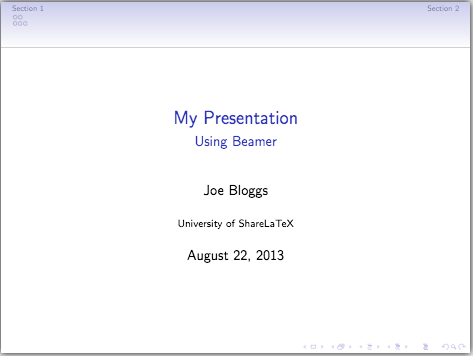
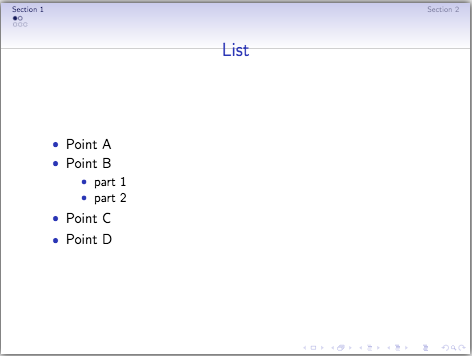
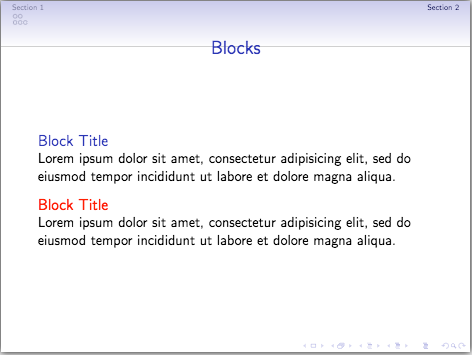
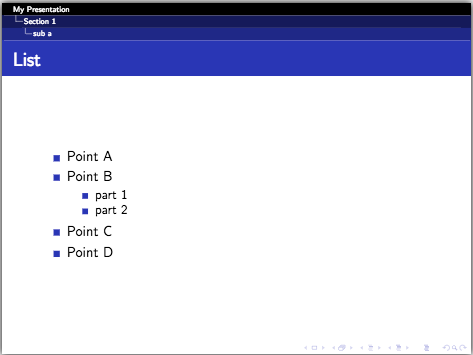
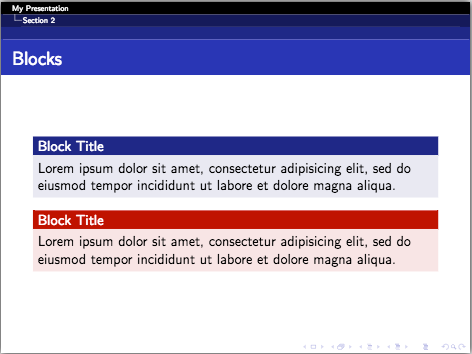
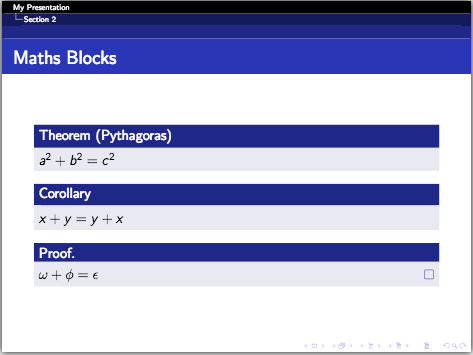
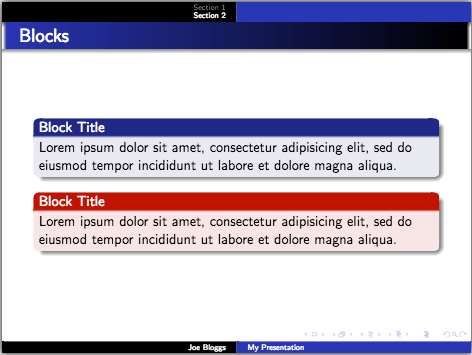
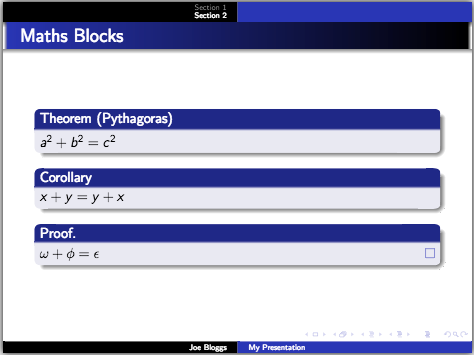
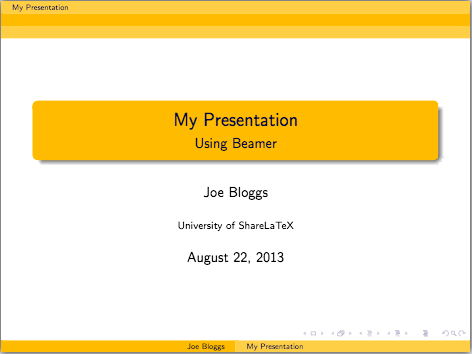
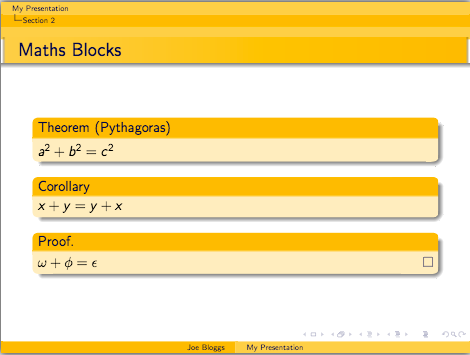
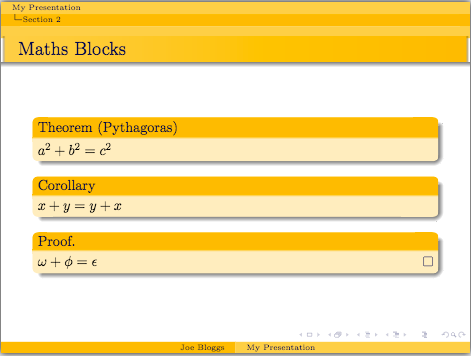
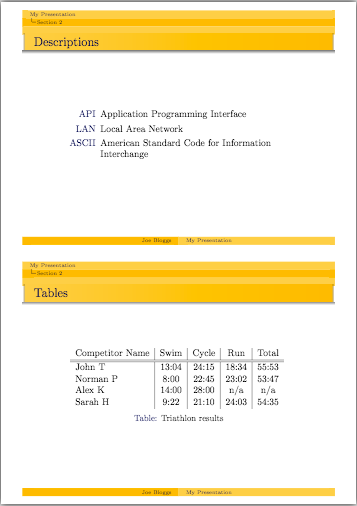
Finally there are also themes like Warsaw that have the section and subsection titles at the top of each frame:
Colour, font, inner and outer themes
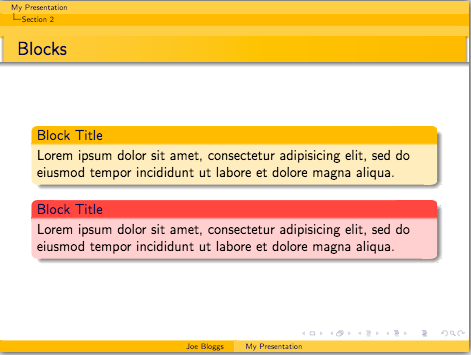
The presentation themes control everything about how the presentation looks. However beamer gives us more flexibility by allowing us to change the colour theme, font theme, inner theme and outer theme, all separately. This is really handy as it means if we like a theme like Warsaw but, for example, want to change the colour theme, then we can load the Warsaw presentation theme and then override the colour theme with one of beamer's predefined colour themes. We change the colour scheme using the \usecolortheme command followed by the colour theme in curly brackets. Note that these themes are different to the presentation themes we used earlier. For example, the crane colour theme:
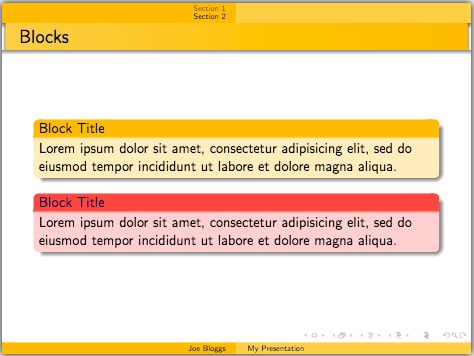
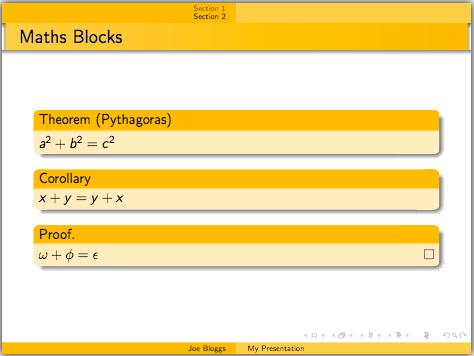
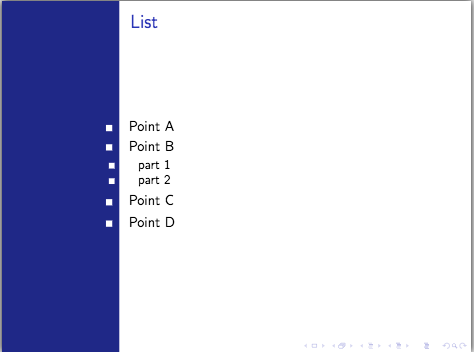
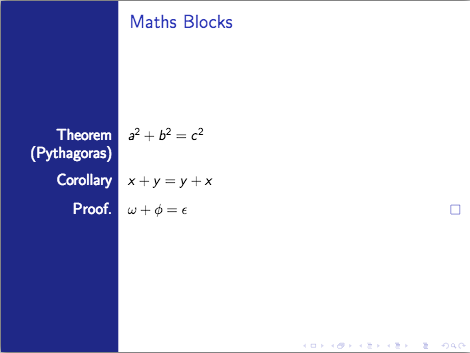
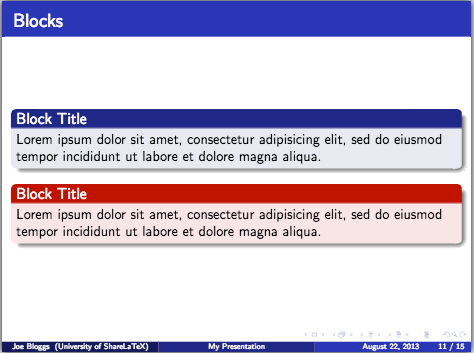
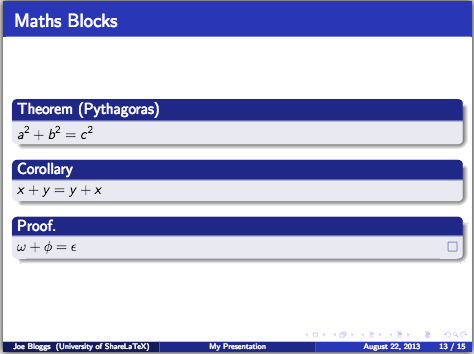
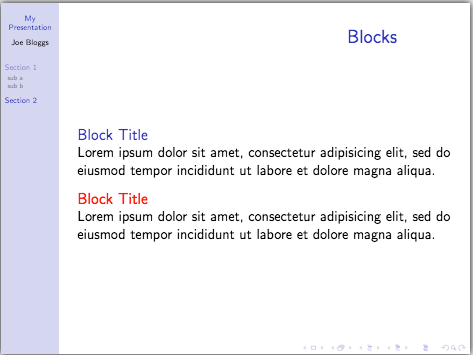
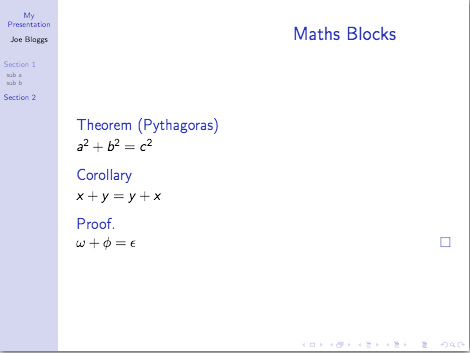
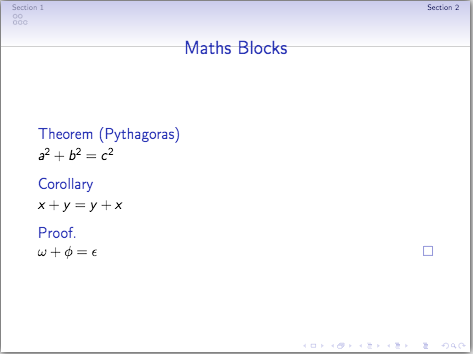
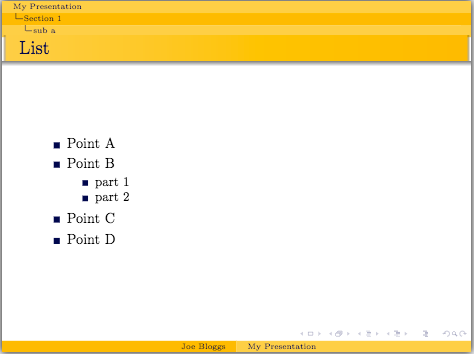
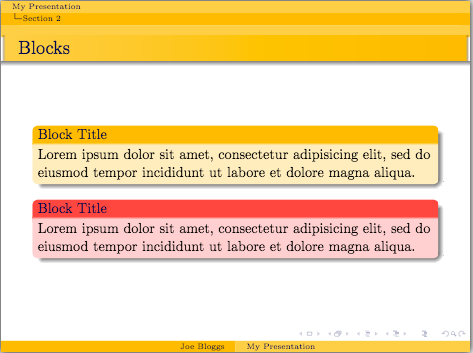
The inner theme dictates the style of the title and part pages, the itemize, enumerate, description, block, theorem and proof environments as well as figures, tables, footnotes and bibliography entries. For example we could also load up the rectangles inner theme. We do this using the \useinnertheme command. This has made our table of contents and lists use rectangles as bullet points:


The outer theme dictates the style of the head and footline, the logo, the sidebars and the frame title. We can specify this theme using the \useoutertheme command. As we're using Warsaw, by default we are using the shadow outer theme, but we could change this to the tree theme if we wanted to change the top navigation bar to a tree like structure:
Finally, I could also change the font theme using the \usefonttheme command and a predefined font theme like the serif theme:

All the information about the different themes available can be found in the beamer documentation.
Handouts
Now let's briefly look at creating handouts for our presentation. To do this we add the keyword handout into square brackets in the document class command. We then use the pgfpages package to help us print multiple slides on a page. After loading the package we use the \pgfpagesuselayout command. In the curly brackets we specify how many frames we want on a sheet. In the square brackets we specify the paper size and how much border shrink we want:
\documentclass[handout]{beamer}
\usepackage{pgfpages}
\pgfpagesuselayout{2 on 1}[a4paper,border shrink=5mm]
If we wanted to put four frames on a sheet we could simply change the 2 to a 4 and then add the landscape keyword into the square brackets:
\pgfpagesuselayout{4 on 1}[a4paper,border shrink=5mm,landscape]
This concludes our discussion on themes and handouts and also our series on creating presentations with beamer. If you want to play around with the presentation we created in this series you can access it here.
All articles in this series
- Part 1: Getting Started
- Part 2: Lists, Columns, Pictures, Descriptions and Tables
- Part 3: Blocks, Code, Hyperlinks and Buttons
- Part 4: Overlay Specifications
- Part 5: Themes and Handouts
Please do keep in touch with us via Facebook, Twitter or via e-mail on our contact us page.