Writing Markdown in LaTeX Documents
Introduction
To use markdown in a LaTeX document you need to load the markdown package in your document preamble:
\usepackage[settings]{markdown}
where [settings] is an optional set of parameters used to configure or enable specific package features. Refer to the markdown package documentation for a description of the package parameters (options).
This article will briefly review both inline markdown—written within your document—and importing external markdown contained in a text file.
- Advisory note: Generally, use of markdown within a LaTeX document should be treated as a complementary and convenient option for authoring some elements of your document's content, not as an alternative syntax to fully replace LaTeX itself.
Using external markdown files
Use the command
\markdownInput{filename}
to include the markdown file filename.
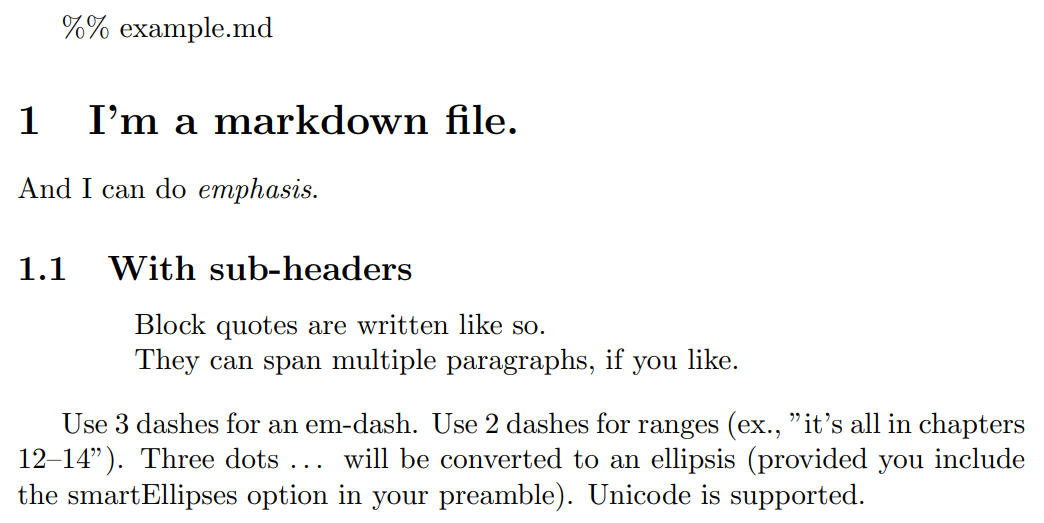
The following example inserts a file called example.md. Use the link below the code listings to open them as an Overleaf project:
main.tex
\documentclass{article}
\title{Using the markdown package}
\usepackage[smartEllipses]{markdown}
\begin{document}

\markdownInput{example.md}

\end{document}
example.md
%% example.md

# I'm a markdown file.

And I can do *emphasis*.
## With sub-headers

> Block quotes are
> written like so.
>
> They can span multiple paragraphs,
> if you like.

Use 3 dashes for an em-dash. Use 2 dashes for
ranges (ex., "it's all in chapters 12--14").
Three dots ... will be converted to an ellipsis
(provided you include the smartEllipses option
in your preamble). Unicode is supported.
Open these files as an Overleaf project.
This example produces the following output:
Using inline markdown
Use the markdown environment:
\begin{markdown}
...your markdown
goes here...
\end{markdown}
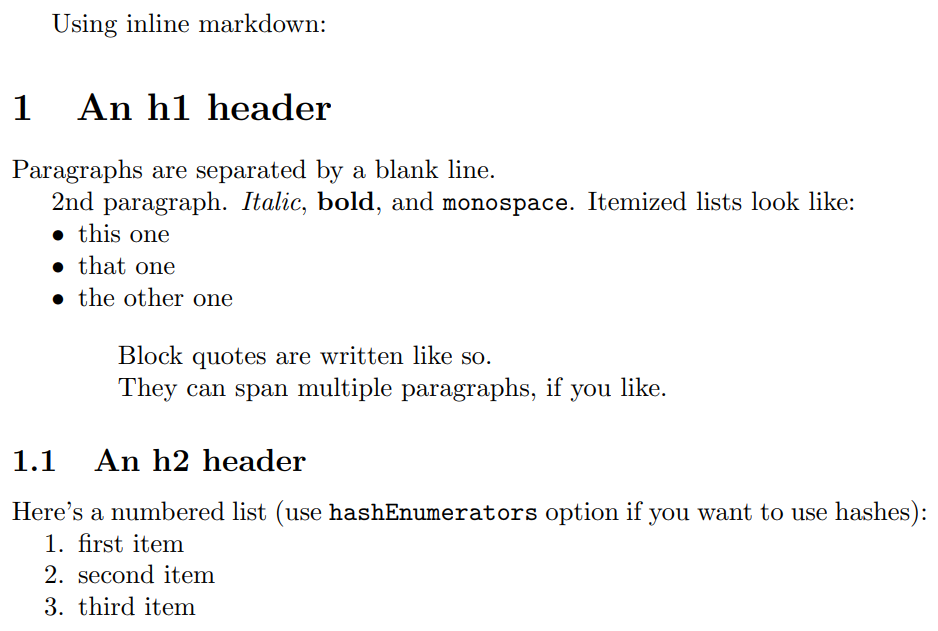
to write inline markdown, as demonstrated by the next example:
\documentclass{article}
\usepackage[hashEnumerators,smartEllipses]{markdown}
\begin{document}

Using inline markdown:

\begin{markdown}
An h1 header
============

Paragraphs are separated by a blank line.

2nd paragraph. *Italic*, **bold**, and `monospace`. Itemized lists
look like:

* this one
* that one
* the other one

> Block quotes are
> written like so.
>
> They can span multiple paragraphs,
> if you like.

An h2 header
------------

Here's a numbered list (use `hashEnumerators` option if you want to use hashes):

#. first item
#. second item
#. third item

\end{markdown}
\end{document}
Open this example in Overleaf.
This example produces the following output:
Markdown package features and options
Here will we explore a few of the features and options provided by the markdown package.
Including code in markdown
There are two mechanisms for displaying snippets of code (code blocks) within markdown:
- indenting every line of the block by at least four spaces or one tab, or
- using so-called fenced code blocks
Using indentation to display code blocks
The following example uses 4, or more, space characters at the start of each line of code—some lines use 6, 8 or 10 space characters depending on the size of indent required:
\documentclass{article}
\usepackage{markdown}
\begin{document}
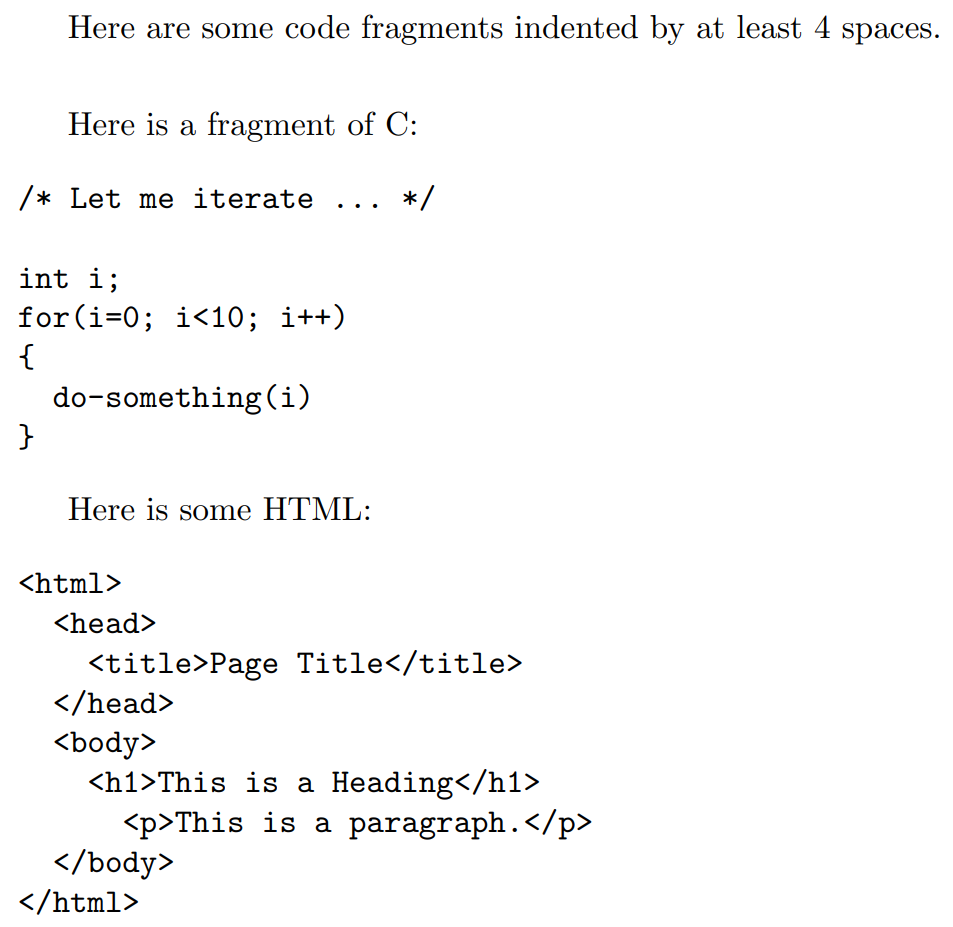
Here are some code fragments indented by at least 4 space characters.
\vspace{6mm}
\begin{markdown}
Here is a fragment of C:
/* Let me iterate ... */
int i;
for(i=0; i<10; i++)
{
do-something(i)
}
Here is some HTML:
<html>
<head>
<title>Page Title</title>
</head>
<body>
<h1>This is a Heading</h1>
<p>This is a paragraph.</p>
</body>
</html>
\end{markdown}
\end{document}
Open this example in Overleaf.
This example produces the following output:
Using fenced code blocks
A fenced code block is created by writing either
- three backticks (
```), or - three tildes (
~~~)
on the lines before and after the code block. Using this method you don’t have to indent any lines but you do need to use the fencedCode option in your preamble:
\usepackage[fencedCode]{markdown}
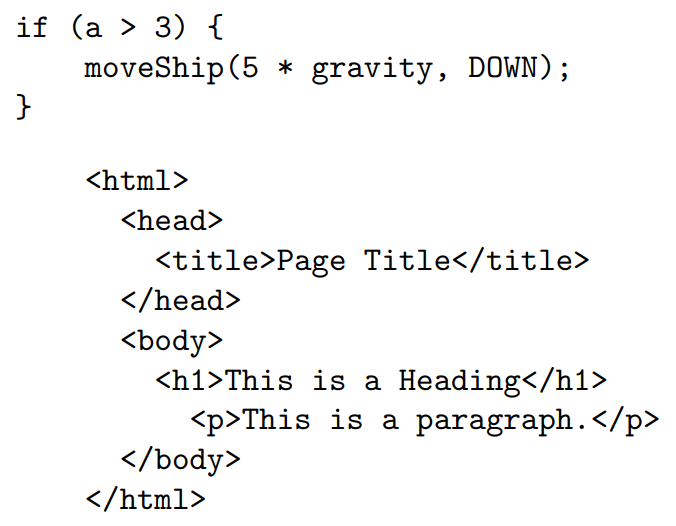
Here is an example creating fenced code blocks using 3 backticks (```):
\documentclass{article}
\usepackage[fencedCode]{markdown}
\begin{document}
\begin{markdown}

```
if (a > 3) {
    moveShip(5 * gravity, DOWN);
}
```

```
    <html>
      <head>
        <title>Page Title</title>
      </head>
      <body>
        <h1>This is a Heading</h1>
          <p>This is a paragraph.</p>
      </body>
    </html>
```
\end{markdown}
\end{document}
Open this example in Overleaf.
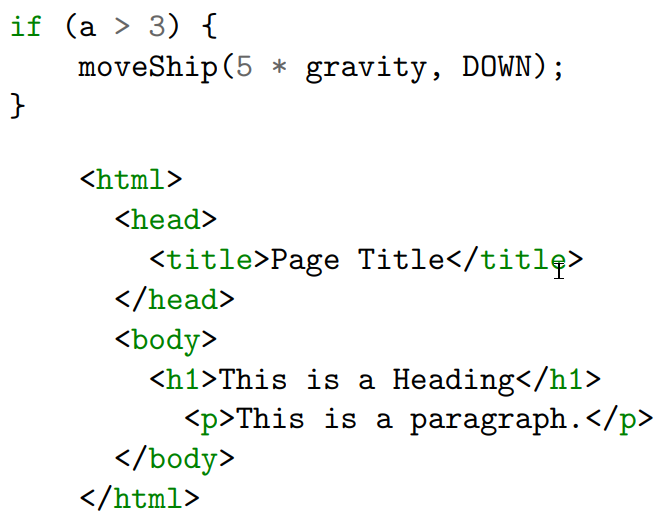
This example produces the following output:
Syntax highlighting
Fenced code blocks support syntax highlighting by having the name of the language written after the first set of backticks (`). As an example, the following block is identified as Javascript by writing the first set of backticks as ``` js:
``` js
if (a > 3) {
    moveShip(5 * gravity, DOWN);
}
```
For LaTeX, the minted package can be used for syntax highlighting, as shown in the next example which contains some Javascript (``` js) and HTML (``` html):
\documentclass{article}
\usepackage{minted}
\usepackage[fencedCode]{markdown}
\begin{document}
\begin{markdown}

``` js
if (a > 3) {
    moveShip(5 * gravity, DOWN);
}
```

``` html
    <html>
      <head>
        <title>Page Title</title>
      </head>
      <body>
        <h1>This is a Heading</h1>
          <p>This is a paragraph.</p>
      </body>
    </html>
```
\end{markdown}
\end{document}
Open this example in Overleaf.
This example produces the following output:
Lists
Previous examples demonstrate creating unordered lists in markdown using the * character. Ordered lists can be created using the # character if the hashEnumerators option has been specified:
\usepackage[hashEnumerators]{markdown}
It is also possible to create nested lists, as demonstrated in the next example:
\documentclass{article}
\usepackage[hashEnumerators]{markdown}
\begin{document}
\begin{markdown}
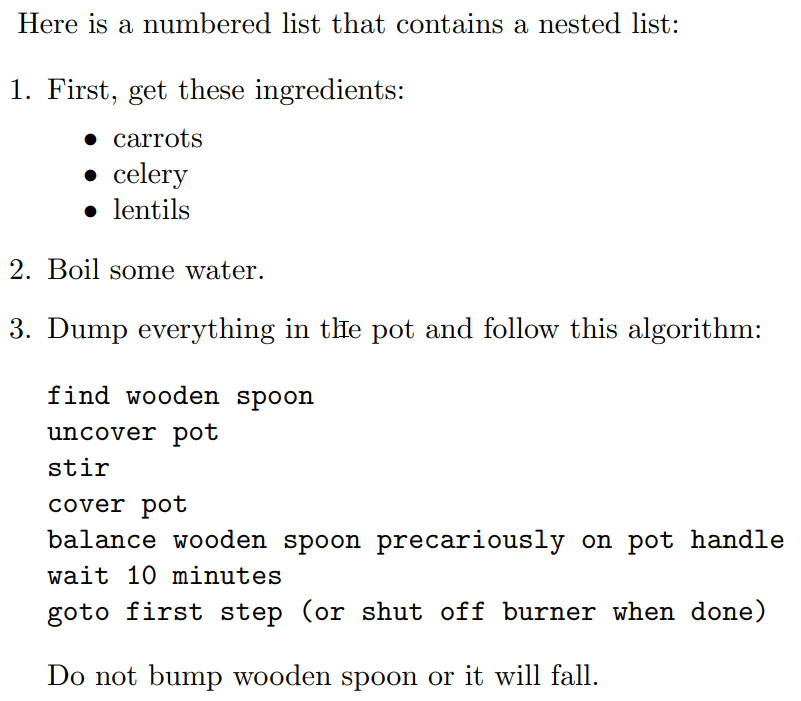
Here is a numbered list that contains a nested list:
#. First, get these ingredients:
* carrots
* celery
* lentils
#. Boil some water.
#. Dump everything in the pot and follow this algorithm:
find wooden spoon
uncover pot
stir
cover pot
balance wooden spoon precariously on pot handle
wait 10 minutes
goto first step (or shut off burner when done)
Do not bump wooden spoon or it will fall.
\end{markdown}
\end{document}
Open this example in Overleaf.
This example produces the following output:
Including LaTeX inside markdown
If you enable the hybrid option you can mix LaTeX code in Markdown!
\documentclass{article}
\usepackage[hybrid]{markdown}
\begin{document}

\begin{markdown}
Inline math equations can be created like this: $\omega = d\phi / dt$.
Display math can be written as:

\begin{equation}
I = \int \rho R^{2} dV
\end{equation}

\end{markdown}
\end{document}
Open this example in Overleaf.
This example produces the following output:

Including images
- Note: The next example uses a graphics file (
example-image.pdf) provided by themwepackage. Those graphics files are distributed by TeX Live and thus stored on Overleaf's servers, making them available as image placeholders, such as the example below.
Images can be included in markdown by writing markup of the following format:

Hopefully, the parameter names alt-text, file-name and "image caption" describe what they do. Here is an example to demonstrate them:
\documentclass{article}
\usepackage[hybrid]{markdown}
% The mwe package provides example images. Loading it is
% not essential because those images are in LaTeX's search path.
% Here, we load it for clarity in this example.
\usepackage{mwe}
\begin{document}
\begin{markdown}
This example shows how to import a graphics file. Here we are using an
example image provided by the `mwe` package.
% Use \setkeys{Gin} if you need to change an image's display size
\setkeys{Gin}{width=.5\linewidth}

\end{markdown}
\end{document}
Open this example on Overleaf.
This example produces the following output:
Note on the image width
Like most packages, markdown loads other packages, including keyval and graphicx, to make use of the commands and features they provide. Here, the image width is set using the \setkeys command, which is provided by keyvals. Gin is a "family" of keys defined by the graphicx package.
- Note: Because a LaTeX command, here
\setkeys, is used within themarkdownenvironment, thehybridoption of the markdown package is required.
Further reading
Overleaf has published other articles on using markdown: